Buddy08 wrote:what kind of lighting are you using? also, explain/post a pic of your co2 setup. If i went with another fresh water tank, i think i would go with an amano tank
the Light is just normal t-8 6500 k 36 watts. For the Coz I went with the steps of this guide:
Step 1 Material
You will need:
A one-liter Gatorade bottle (or similar)
Several feet of airline tubing (vinyl is ok, but silicon is better)
An air diffuser
A suction cup to fit your tubing
A check valve
Aquarium grade silicon
A planted tank (duh?)
Scissors
Step 2 STEP ONE
You want to make a hole in your bottle cap that is just a wee bit smaller than your airline tubing overall diameter. I used a pair of scissors to carve a hole, simply for the fact that I was too lazy to get out the drill, find the appropriate bit, and put it away, just for one hole. If you have more gumption than I, by all means, go ahead and drill it.
Step 3 STEP TWO
Make a slanted cut in the end of your airline tubing. This will make it easier to get in the hole on the cap.
Step 4 STEP THREE
Pull your airline tubing about 1.5" through the cap. If you are having troubles, try pulling with a pair of pliers. If you are STILL having trouble, you can shave a bit from the hole with a pair of scissors, or use a larger drill bit. Your call.
Step 5 STEP FOUR
Ok, this is the part where I messed up when I was taking the pictures. Bear with me.
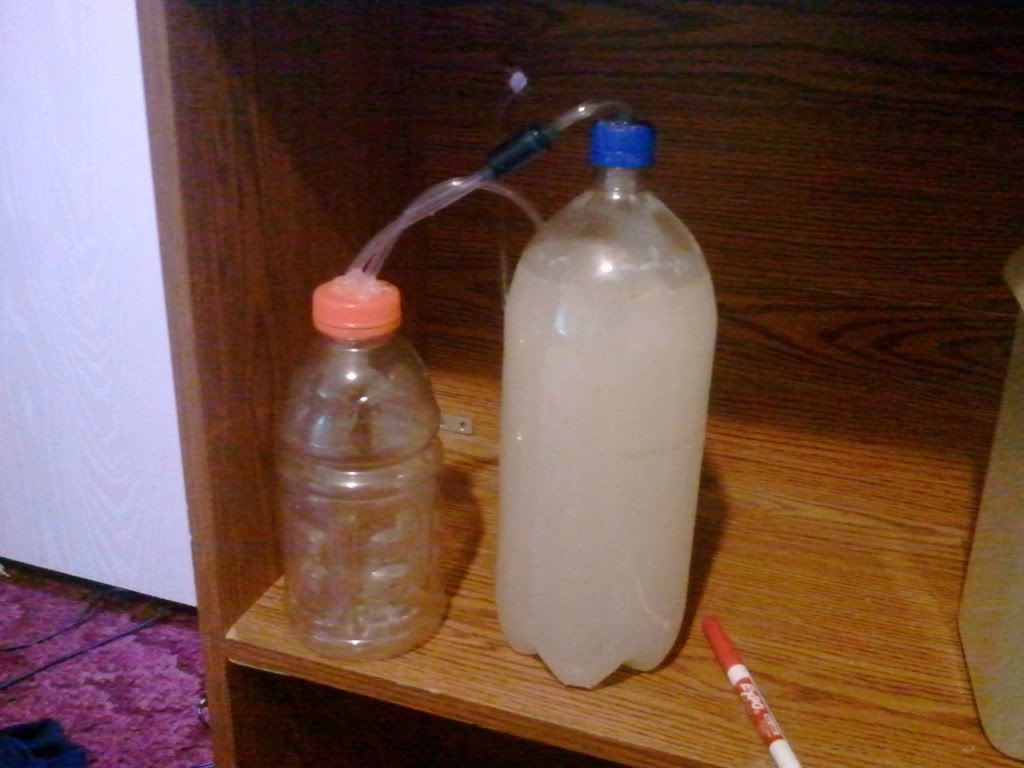
About 6-10 inches away from the cap, cut the line in half, and plumb in your check valve.
MAKE SURE that the arrow is pointing AWAY from the bottle cap, otherwise you will have a ticking yeast bomb sitting under your aquarium.
The picture is of the finished project. Just pretend you don't see that part though

Step 6 STEP FIVE
Now, here is the messy part. You want to use your aquarium silicon to put a nice bead around the inside and the outside of the bottle cap, sealing your tube to the cap. To smooth out the bead if you messed up, you can dip your finger in rubbing alcohol, and run it along the silicon. This will keep it from sticking to you too much.
You want to let this dry for 48 hours before using the setup.
Step 7 STEP SIX
Now, you want to make sure that your cap still fits. I got silicon on the threads of my first bottle cap, and it really messed with it, and I couldn't use it.
I don't think I need to explain how to put on a bottle cap. I'll give you guys some credit.
Step 8 STEP SEVEN
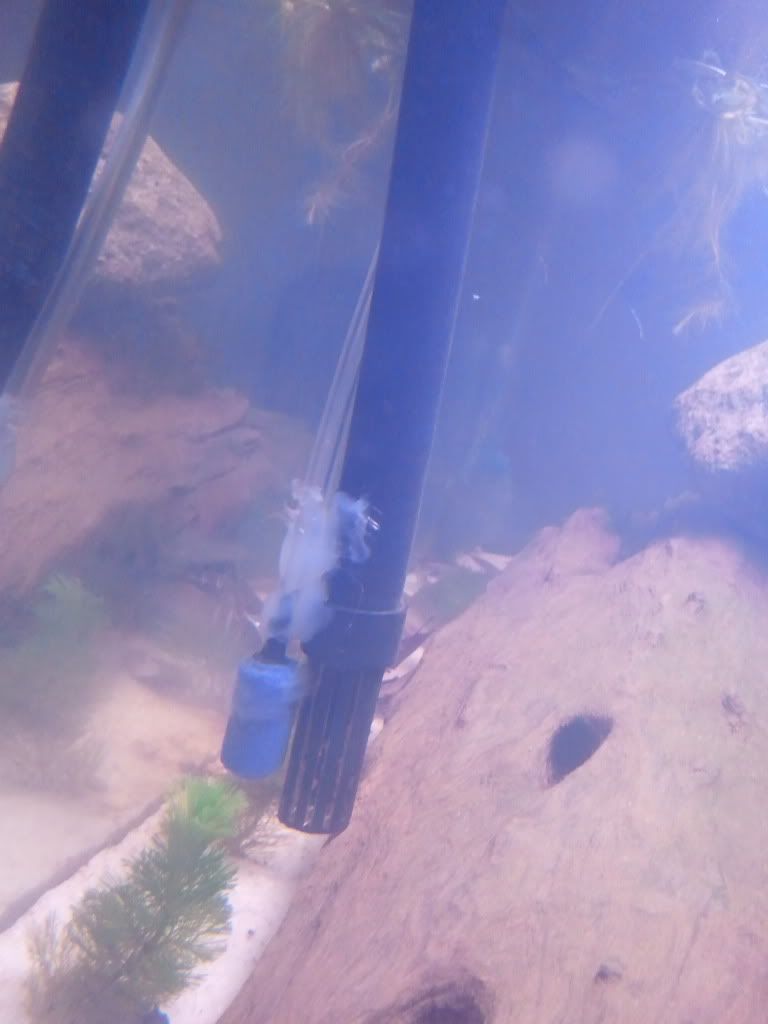
Now, plug your air diffuser into the other end of the line. It should fit fairly snuggly, and that’s what we want.
Step 9 STEP EIGHT
Now, you want to add you suction cup to the end of the line with the air diffuser. Depending on your suction cup, the last step may or may not come before this one. I had to cut the side of my suction cup to get the airline to fit, so it came after in my situation.
Step 10 STEP NINE
Now you are ready to place the air diffuser in your aquarium. the ideal placement is low in the aquarium, and next to a filter intake, so the CO2 will diffuse more efficiently.
Step 11 STEP TEN
Ok, now its time to mix up your "CO2 juice".
I don't have any pictures of this, but its just like following a recipe.
First, you fill your bottle half way up with pretty warm water. You don't want it too hot, but not too cool.
Now you want to add 1of cup sugar.
You will need an extra cap that fits the bottle. You want to shake the hell out of it until you can dissolve as much sugar into the bottle that you can.
Fill the bottle up to about 2 inches away from the top with COLD water. Put on the other cap, and shake it some more. You want the water to be a little warm. Too hot, and it will kill your culture.
Now add teaspoon of bakers yeast, and just a pinch of baking soda. Give it a gentle shake.
Take your contraption to your tank, and screw on the cap with the hose, and let it sit. It might take up to 3 days to start bubbling, but soon, the yeast will metabolize the sugar, and produce CO2. The more sugar you add, the longer it will produce CO2. The more yeast you add, the faster CO2 will be produced, but it will deplete pretty fast. The baking soda is to keep it steady.
Every three days, give the bottle a gentle slosh around to mix it a bit.
Step 12 STEP ELEVEN
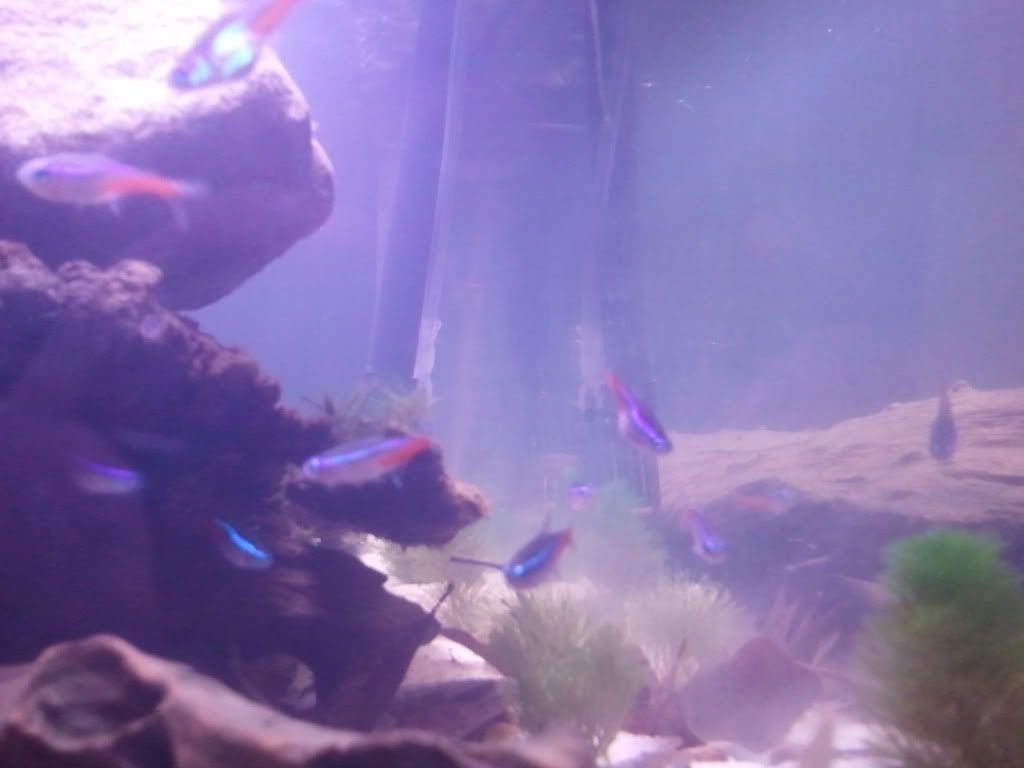
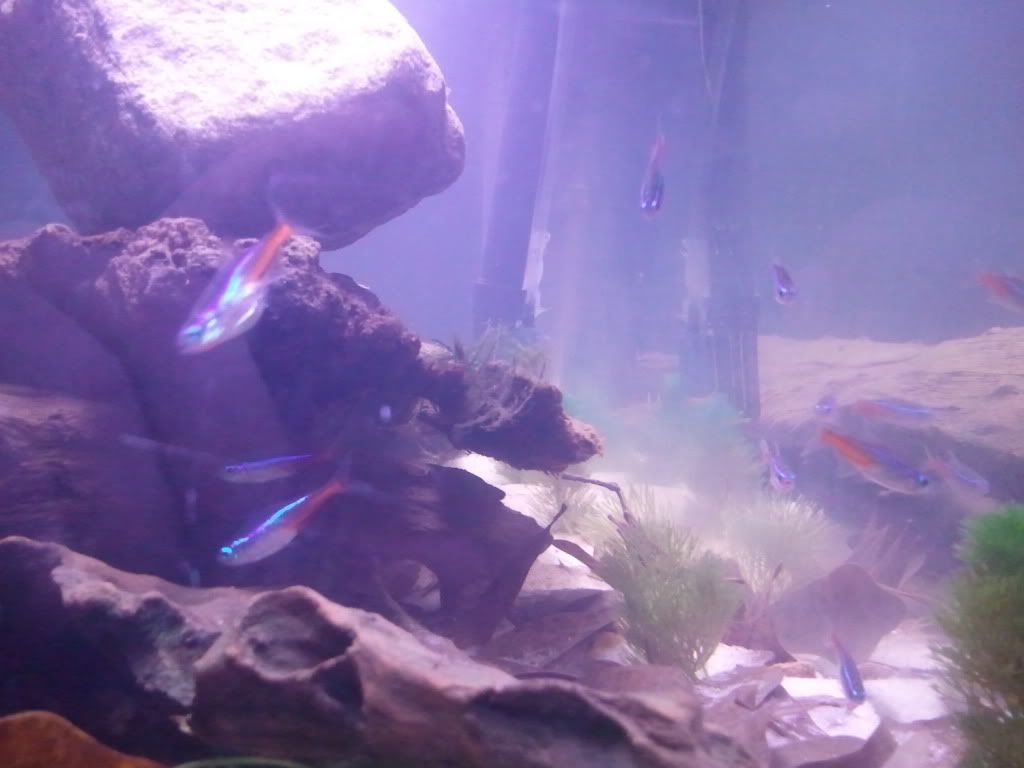
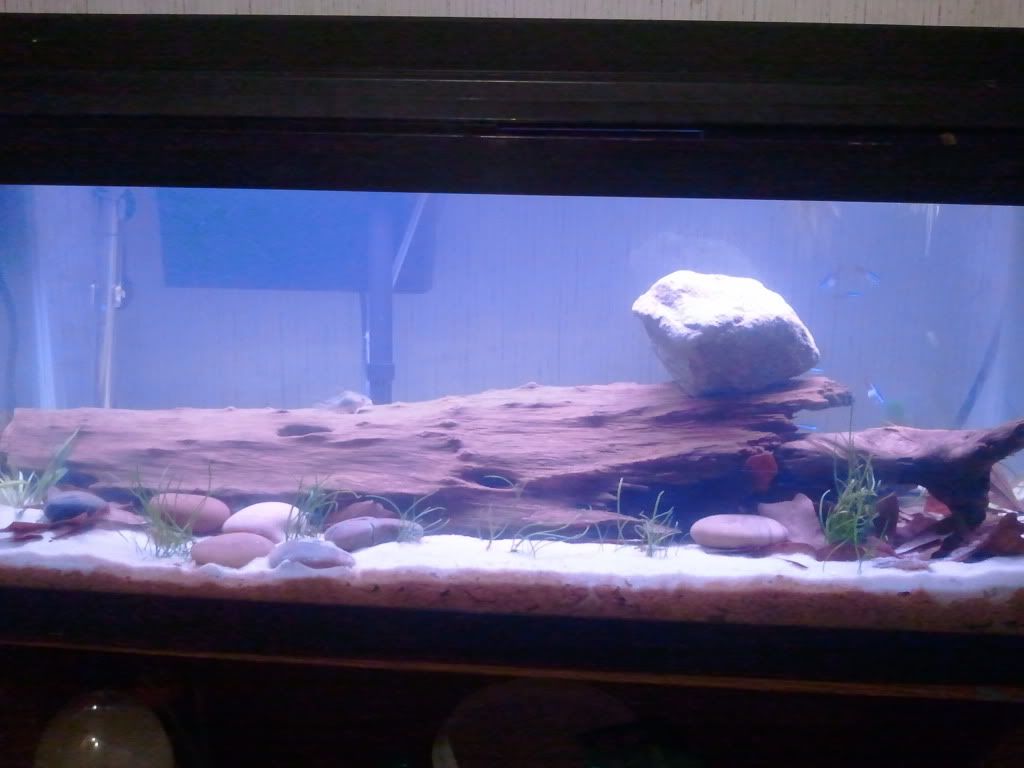
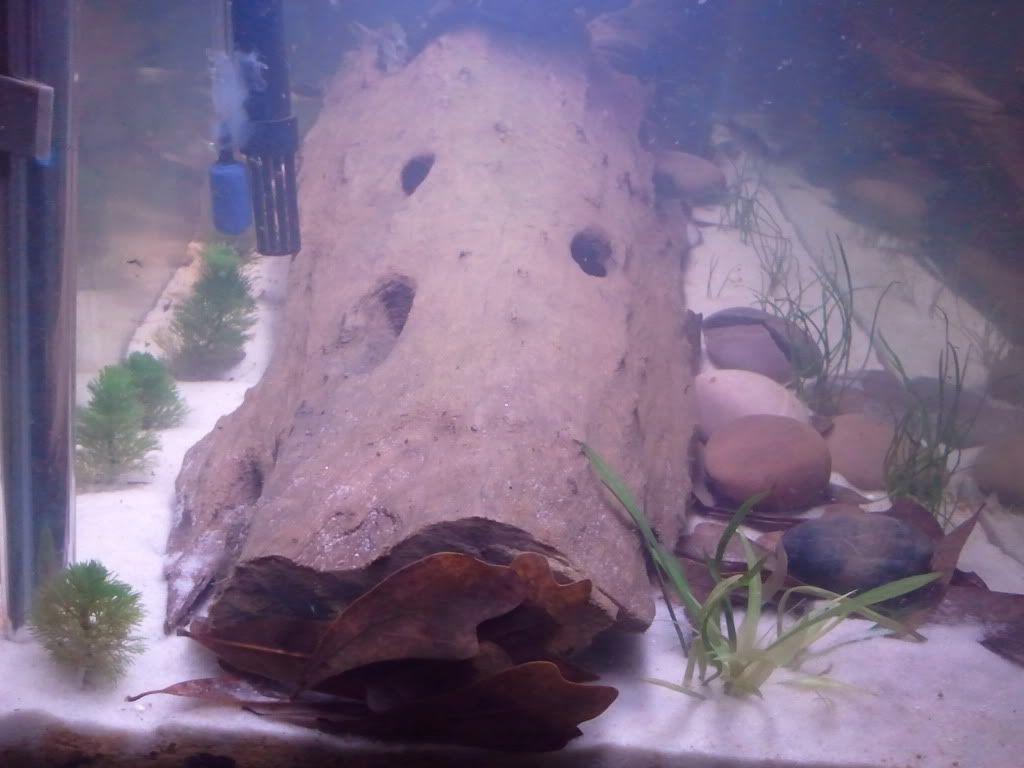
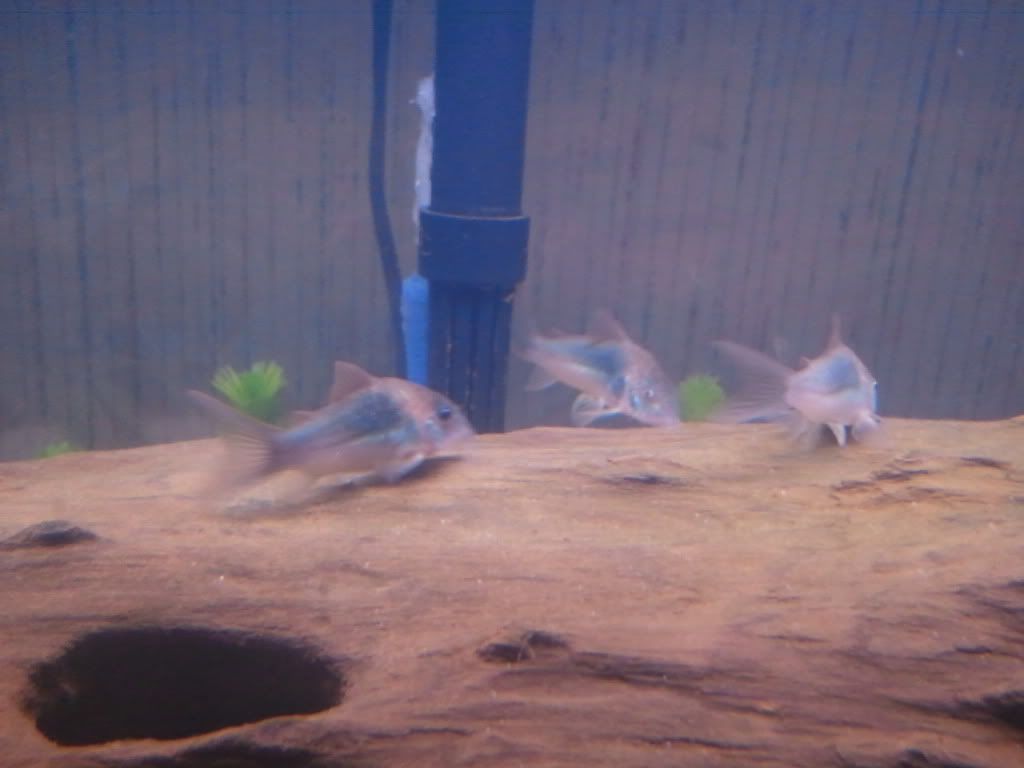
Have a beautiful planted tank.
At night, when your lights are off, run an air stone to prevent pH swings
instead of silicone i substituted it for hot glue and for the gatorade bottle i used a 2 liter soda bottle and the gatorade bottle as a catch for safety reasons incase of solution gets into the airline tubing.